Saturday 29 March 2014

Owl Box Camera Upgrade

So, as I mentioned in a previous post, my Tawny Owl nesting box has/had some squirrels in it who have done a loft conversion so we now have a squirrel drey - complete with branches sticking out of the entrance hole.
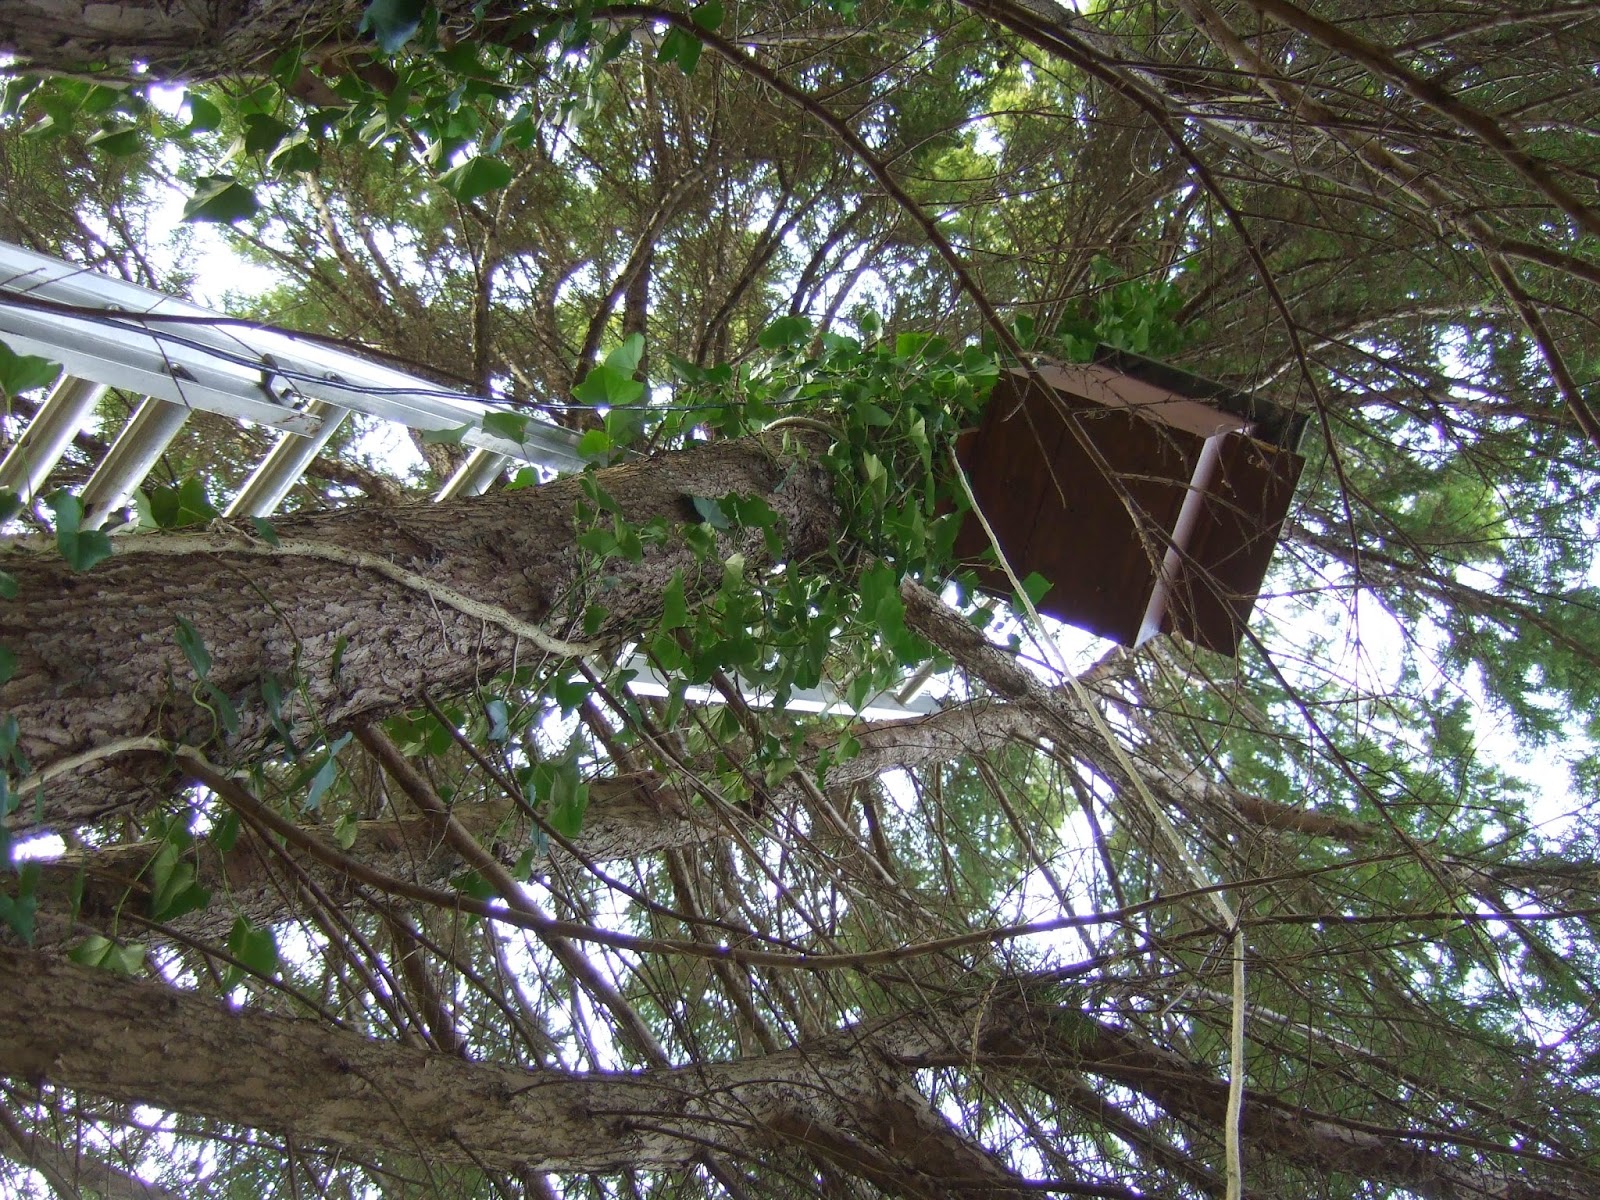

View from below
The camera in there was really limited in terms of the picture quality, as the a 2.4GHz radio transmission transmitter had very poor performance (read as mostly non-functional).  Today I took advantage of the lack of wind, and did  a quick and dirty mod, and replaced the existing camera with a webcam-raspberry pi combo.


I've been working for a while on a pi-cam nesting box for smaller birds (full post later), and Iused the same methodology to rig up a webcam in the Owl box.  For power, I've used power-over-ethernet (PoE), so I've only one cable running to it.

The box is approx 150ft from the house.  Last year, I ran exterior ethernet cable underground most of the way, to a shed which is approx 30ft from the tree.  From the shed I've run a ethernet cable which takes a power injection using a TPlinkPoE kit, which steps down from 48 to 5v in the nest box.  Webcam is a microsoft lifecam cinema.  I created all the network cables from a box stock of exterior cat5e network  cable.  There's no artificial lighting in the box as I had to make these changes 20ft up a tree so had no room for finesse, and plenty of room for falling out of the tree.  The old camera had several IR leds (too many),  so unfortunately night vision is out for now.

Kit in-situ (again no finesse here - mostly chucked in)
In a later post I'll detail how motion jpeg stream is setup from the Pi, but its cool to SSH into a linux box 250ft from my desk and 20ft up a tree.


The improvement in quality is immediately obvious.  I'll need to do some repositioning later in the week.

At 800x600 resolution I get approx 20 fps, and at 1280x720 I get 7-10 fps which isnt bad for full HD.  The video signal is a motion jpeg stream, which is fed to a pc running iCatcher console software.  This sees it as an IP camera and does the motion capture side of things. 

Audio: I haven't investigated this yet, but this webcam has an inbuilt microphone from which I think it should be possible to grab an audio feed.


Stay tuned for some (hopefully interesting) footage...


Tuesday 25 March 2014

Timelapse Raspberry Pi Camera

Last weekend I tried my hand at some time-lapse movie creation

To do this, I've used the Raspberry Pi camera module + Raspberry pi


This high-tech setup attaches a Pi & camera module to my sons bedroom window with electrical insulation tape.  raspistill is run using the following command:


raspistill -o image_%05d.jpg  -n -tl 5000 -t 72000000 &


The above command only creates a set of jpg files, each approx 2.5Mb, and not the final video clip.  (The ampersand keeps it running in the background)

The final clip is created with mencoder.  See here for detail on how to set this up


ls *.jpg > list.txt
mencoder -nosound -ovc lavc -lavcopts vcodec=mpeg4:aspect=16/9:vbitrate=8000000 -vf scale=1920:1080 -o timelapse.avi -mf type=jpeg:fps=20 mf://@list.txt     
 

Attempt 1
My first attempt was okay, but suffered from reflection of the Pi's camera light.  this can be turned off by following these instructions.  This is also captured every 30 seconds, which I felt was a bit too speedy once combined at 25fps

Attempt 2
This clip was created on the following day, with the wind in a more 'atmospheric' direction relative to the window.  I soon discovered that I was limited in the length of video clip I could create by the space on the Pi's SD card.  My solution was to create a share on the Ubuntu machine, mount it on the Pi set the output destination for raspistill to save there, rather than the Pi's SD card.

With this approach I was able to leave it running for approx 8hrs, over which time it generated 14Gb image files.  Using mencoder, this converted into a 250Mb avi file, and encoded at 25 fps created a video of 3:30 minutes long, and I'm quite pleased with it.  It could be improved with some background music... maybe The Orb's Little Fluffy Clouds?  Best viewed full screen in HD.


I opted in this one for a 5 second time interval.  There's a handy guide here which gives some suggestions as to appropriate intervals based on what you want to timelapse.  The astute among you will notice that there is a skip in the middle of this, which is where my laptop decided for 15 mins or so to drop off the network.  the problem with defining the output of raspistill to a network share is if it stops sharing for some reason the capture will fail.

A more elegant solution would be to capture directly to the SD card as a buffer and periodically move to external HD/network share.  I also noticed that the output jpg didn't make it across sometimes where raspistll would complain of dropped frames.

I particularly like the end where there's a brief flash of red as the sun sets off camera.  Quite pleased with the end result.